 how-to
How to Troubleshoot Well Pump: 7-Step Guide
Table of Contents
- Safety First: Before You Troubleshoot a Well Pump
- Signs of a Bad Well Pump You Should Not Ignore
- How to Reset Well Pump Breaker and Check Power Supply
- Well Pump Pressure Switch Troubleshooting: Contacts, Settings, and Reset
- Testing the Motor Capacitor and Checking Wiring Connections
- Sediment, Check Valve, and Water Table Issues That Stop Water Flow
- Troubleshooting by Pump Type: Submersible vs. Jet Pumps
- When to Stop DIY and Call a Professional Well Pump Technician
- Frequently Asked Questions
Last Updated: September 13, 2026
Safety First: Before You Troubleshoot a Well Pump
Before you troubleshoot well pump problems, shut off power at the breaker and treat every wire as live until a multimeter proves otherwise. Water and electricity share the same space, and the shock risk is real.
At England's Plumbing & Heating, we've handled private well systems across Chester County since 1989. Three rules matter most:
- Cut power at the double-pole circuit breaker before opening any control box or pressure switch cover.
- Never stand in standing water while working near wiring, even with the breaker off.
- Wear safety glasses and insulated gloves when testing line voltage.
If you smell burning insulation, see scorch marks on the pressure switch contacts, or hear the pump running dry, stop and call a licensed technician. A submersible pump that loses its water source can overheat within minutes.
Signs of a Bad Well Pump You Should Not Ignore
The clearest signs of a bad well pump are no water, weak pressure at every fixture, sputtering faucets, and a pump that cycles every few seconds. Catching these early separates a minor fix from a full replacement.
No Water, Low Pressure, or Sputtering Faucets
Sputtering at the tap means air is entering the line, a dropping water table, a failing check valve, or a pump drawing down faster than the well recovers. Low pressure across the whole house narrows the problem to the pump, pressure tank, or pressure switch rather than a clogged aerator.
Pump Cycling and Odd Noises from the Pressure Tank
Short cycling is the symptom homeowners miss most. If the pump kicks on with every tap and shuts off seconds later, the pressure tank has likely lost its air charge or the switch settings have drifted. Left alone, short cycling burns out the pump motor and capacitor.
How to Reset Well Pump Breaker and Check Power Supply
To reset a well pump breaker, switch it fully to OFF, then firmly to ON, and listen for the pump. If it trips again immediately, stop. A breaker that trips twice is reporting a fault, not asking for another try.
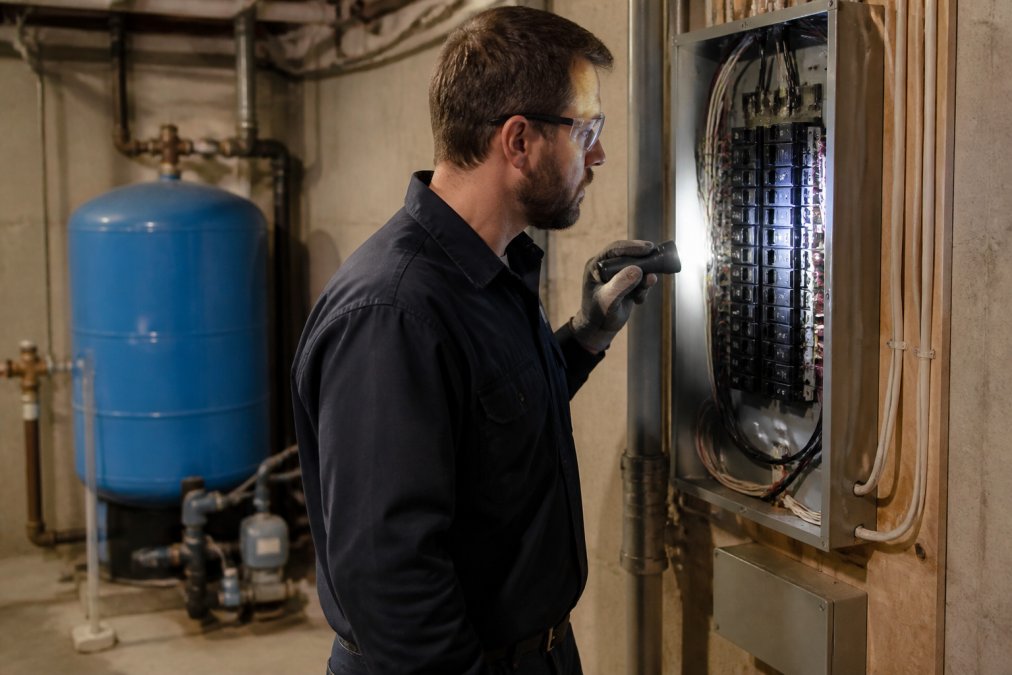
Flipping the breaker repeatedly sends current through a fault that may be a shorted motor winding or corroded connection. If the breaker holds but the pump stays silent, the problem is downstream: the pressure switch, control box, or motor.
Testing Line Voltage at the Control Box with a Multimeter
Set your multimeter to AC voltage and test across the incoming line terminals at the control box. On a standard 240-volt system you should read near 240 volts across both hot legs and roughly 120 volts from each leg to ground. A reading well below that indicates voltage drop, often a loose connection or overheated wiring.
Well Pump Pressure Switch Troubleshooting: Contacts, Settings, and Reset
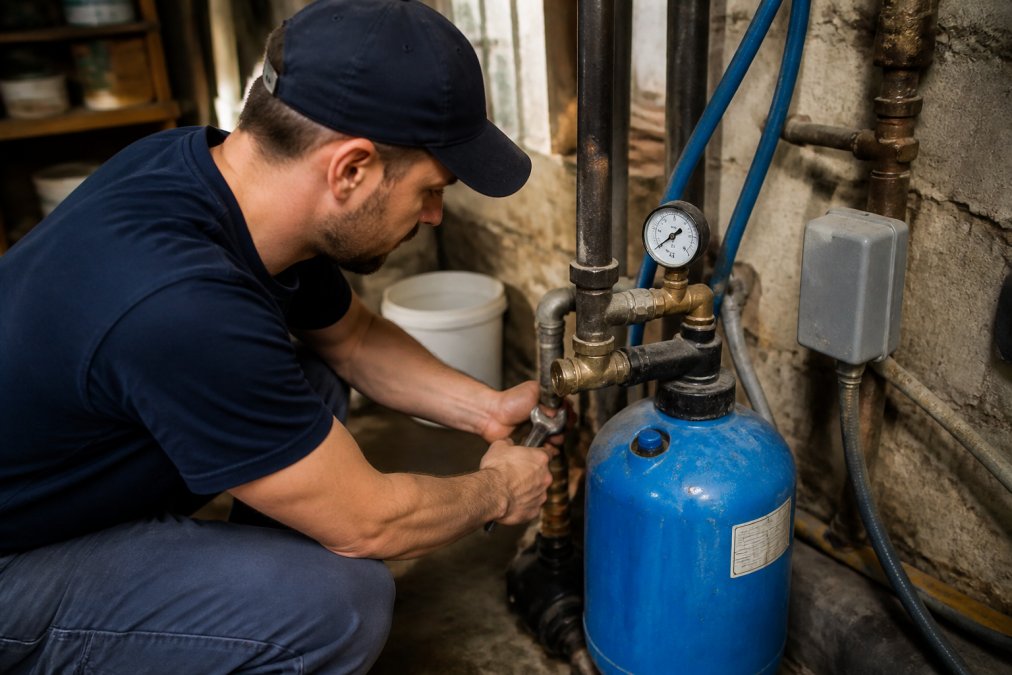
Well pump pressure switch troubleshooting starts with the contacts, but the switch is the most misdiagnosed part in the system. Cut power at the double-pole breaker, remove the cover, and work through the checks below in order. Replacing a good switch because you skipped a step leaves the real fault in place.
Step 1: Inspect the Contacts
Look at the two contact points where the spring-loaded arm meets the stationary terminals. Pitted, burned, or corroded contacts are the most common reason a pump won't start even with line voltage present. Blackening, a gap that won't close, or a cratered surface all mean replacement, not filing, which removes the plating and lets contacts pit again within weeks.
Step 2: Confirm the Cut-In and Cut-Out Settings
The switch has two setpoints: cut-in (pump starts) and cut-out (pump stops). The three common factory configurations are 20/40, 30/50, and 40/60 PSI. The differential, the gap between the numbers, matters most:
- 20/40: common on older systems and shallow wells; 20 PSI differential.
- 30/50: the most common residential setting; 20 PSI differential.
- 40/60: used where higher household pressure is wanted; 20 PSI differential.
A switch set too close together (for example, 40/45) causes rapid cycling because the tank never reaches its drawdown range; too far apart leaves fixtures weak at the low end. Confirm the switch rating matches the tank's precharge: a tank at 28 PSI pairs with a 30/50 switch, while the same tank on a 40/60 switch will short-cycle.
Step 3: Check the Nipple and Tubing
The small tube or nipple feeding the switch from the tank tee can clog with sediment, iron, or scale, so the switch never senses true pressure and the pump runs past cut-out or fails to start at cut-in. Remove the nipple, clear it, and confirm you can blow through it before reinstalling.
Step 4: Test the Reset Lever
Some switches have a small lever on the side to reset after a low-pressure trip. Hold it briefly and listen for the pump to engage. If the pump runs only while you hold the lever, the switch has failed internally and needs replacement.
Step 5: Verify Voltage at the Switch
With the cover off and power restored only long enough to test, check for line voltage on the incoming terminals and for voltage passing through to the pump terminals when the switch is closed. No voltage in, no voltage out, or voltage in but none out each point to a different fault, a dead circuit versus a failed switch.
If the contacts are clean, the settings match the tank, the nipple is clear, and voltage passes through, the switch is not your problem. Move on to the motor capacitor and wiring.
Repair vs. Replace: A Quick Decision Framework
Most homeowners reach for a new switch too early. Check these first:
| Finding | Action |
|---|---|
| Burnt or pitted contacts | Replace switch |
| Settings drifted from tank precharge | Adjust, then retest |
| Clogged nipple or tubing | Clean and reinstall |
| Switch passes voltage, pump still dead | Look at capacitor, wiring, or motor |
| Switch replaced twice in a year | Investigate tank, wiring, or motor, the switch is a symptom |
A switch that keeps failing usually reports a deeper problem, a waterlogged tank, loose wiring, or a motor drawing high current, not a bad batch of switches.
Testing the Motor Capacitor and Checking Wiring Connections
A failed motor capacitor is one of the most overlooked causes of a pump that hums but won't start. It gives the motor its starting torque; when it fails, the pump may buzz, trip the thermal overload, or sit silent.
To test it safely:
- Discharge the capacitor by shorting its terminals with an insulated screwdriver. It can hold a charge even with power off.
- Set your multimeter to capacitance or resistance mode, depending on the meter.
- Test for continuity and resistance. A capacitor that reads open or shorted has failed and needs replacement.
- Inspect wiring connections at the same time. Look for corrosion, loose lugs, and chafed insulation, especially where wires enter the well casing.
Sediment, Check Valve, and Water Table Issues That Stop Water Flow
Water that flows fine, then slows to a trickle, usually points to sediment buildup or a failing check valve rather than an electrical fault. Sediment clogs the intake screen, switch tubing, and check valve seat, while a check valve that won't seal lets water drain back so the pump loses prime and runs dry on startup.
A falling water table produces the same symptoms: if well yield has dropped, the pump may pull the water level to the intake, triggering dry run protection or burning the motor. Compare pressure gauge readings over several days, a steady drop with no fixtures open suggests a check valve or line leak.
| Symptom | Likely Cause | First Check |
|---|---|---|
| Sputtering faucets | Air in line | Check valve, water table |
| Short cycling | Pressure tank or switch | Air charge, switch settings |
| No water, no sound | Power or motor | Breaker, capacitor, wiring |
| Slow, then no flow | Sediment or debris | Intake screen, check valve |
Troubleshooting by Pump Type: Submersible vs. Jet Pumps
Submersible pumps sit inside the well and push water up; jet pumps sit above ground and pull water by suction. That difference changes where you look first.
For a submersible pump, most electrical diagnostics happen at the control box and pressure switch above ground. If those check out, the fault is usually downhole and means pulling the pump, a job for a professional with the right rigging.
For a jet pump, check the prime first. A jet pump that has lost its prime will run without moving water. Re-prime it per the manufacturer's instructions, then check the foot valve and suction line for air leaks.
When to Stop DIY and Call a Professional Well Pump Technician
Most guides tell you to call a pro when you're 'not comfortable.' Here is a concrete way to decide, plus the points where DIY stops being safe or cost-effective.
Stop DIY Immediately If Any of These Are True
- The breaker trips twice after a reset. A breaker that trips twice is reporting a fault, not asking for another try. Each reset sends current through a shorted winding or a corroded connection.
- You read line voltage present at the control box but the pump is silent and the capacitor tests good. The fault is downhole.
- You smell burning insulation, see scorch marks, or hear the pump running dry. A submersible pump that loses its water source can overheat within minutes.
- You are not fully confident working around 240-volt wiring. There is no partial-credit version of this.
- The pump must be pulled. Pulling a submersible pump requires rigging, a safe working height, and a way to control the drop. A mistake can send the pump to the bottom of the well.
Repair vs. Replace: A Decision Matrix
The sunk-cost trap is real: homeowners approve a third or fourth repair on a pump past its service life because each repair feels cheaper than replacement. Run the numbers against the matrix below instead.
| Factor | Lean Repair | Lean Replace |
|---|---|---|
| Pump age | Under 8 years | 10-15+ years |
| Repair frequency | First issue in 2+ years | Two or more repairs in 12 months |
| Repair cost vs. new pump | Well under half the cost of replacement | Approaching or exceeding half |
| Water quality | Clear, no sediment | Sand, iron, or sediment recurring |
| Well yield | Stable | Declining, pump running dry |
| Downhole fault | Above-ground only | Motor, check valve, or drop pipe |
A pump that has run 10 to 15 years is near the end of its typical service life. If you are facing a downhole repair on a pump in that range, replacement is usually the smarter spend, you avoid paying twice for the same pull.
What a Professional Brings That You Can't Rent
A licensed well pump technician arrives with a clamp meter to read motor current, a megohmmeter to test winding insulation, and rigging to pull and reset a submersible pump without dropping it. Those cover the faults DIY diagnostics cannot reach: a motor drawing high amps, a grounded winding, and anything below the wellhead.
Proactive Maintenance Beats Reactive Repair
The cheapest service call is the one you schedule before the pump fails. A seasonal checklist, test the pressure tank precharge each spring, exercise the breaker and switch, check for sediment at the intake screen, and log pressure gauge readings, catches slow failures (a losing air charge, a clogging nipple, a dropping water table) while they are still cheap to fix. Pair that with a smart water-pressure sensor for early warning of short cycling and pressure drift before the pump burns out. A logged baseline plus one sensor is the difference between a $200 switch adjustment and a full submersible replacement.
For guidance on electrical safety around pumps, the Occupational Safety and Health Administration publishes clear standards on working near energized equipment, and the U.S. Environmental Protection Agency's private well guidance covers water quality and well maintenance basics. When in doubt, the Centers for Disease Control and Prevention also offers household safety information for well water systems.
Frequently Asked Questions
How do you know your well pump is going bad?
Common signs of a bad well pump include no water at all, water pressure that fluctuates wildly, a sputtering faucet, and the pump cycling on and off rapidly. You may also hear grinding or clicking noises from the pressure tank or see sediment in your water. If the pump runs constantly but never builds pressure, the motor or check valve may be failing. Any of these signs means it is time to troubleshoot or call a professional before the pump fails completely.
How do I reset my well water pump?
First, turn off power at the double-pole circuit breaker that feeds the pump. Open the pressure switch cover and look for tripped contacts or a reset lever. If the switch has a reset lever, press it firmly. Then restore power at the breaker and watch the pressure gauge. If the pump kicks on and builds pressure, the reset worked. If the breaker trips again immediately, stop and call a licensed technician, because the problem is likely electrical or mechanical, not a simple reset.
Is it safe to troubleshoot a well pump myself?
You can safely handle basic checks like flipping a breaker, inspecting the pressure switch contacts, and looking for obvious leaks or corrosion. However, anything involving line voltage testing, capacitor discharge, or opening the control box carries real shock risk. Well pump circuits run on 240 volts, which can be lethal. If you are not comfortable working around live wiring or using a multimeter, call a professional. Safety precautions matter more than saving a service call fee.
What are the signs of a failing pressure switch?
A failing pressure switch often shows these signs: the pump will not turn on at the cut-in pressure, the pump runs past the cut-out setting, contacts look burned or pitted, or you hear repeated clicking without water flow. Pressure switch troubleshooting starts with turning off power, removing the cover, and checking for debris or corrosion on the contacts. If the contacts are clean but the pump still will not start, test for electrical continuity with a multimeter before replacing anything.