 how-to
How to Fix a Leaking Toilet Step by Step
Table of Contents
- Identify Where the Toilet Is Leaking
- Turn Off the Water Supply
- Gather Your Tools and Materials
- Fix a Toilet Tank Leaking from Inside
- Repair a Toilet Supply Line Leak
- Address a Toilet Leaking from the Bottom
- When to Call a Plumber for a Toilet Leak
- Test Your Repair and Prevent Future Leaks
- Frequently Asked Questions
Last Updated: October 8, 2026
Identify Where the Toilet Is Leaking
The first step in learning how to fix a leaking toilet step by step is pinpointing exactly where the water is escaping. The location determines your repair approach.
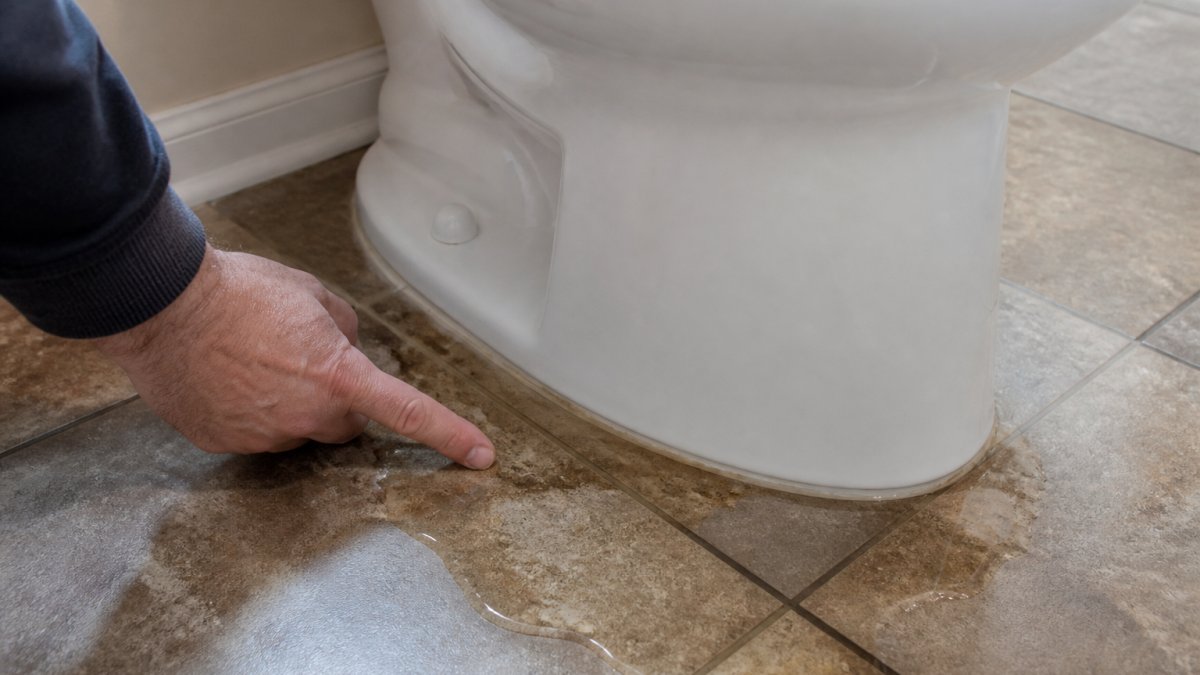
Water can escape from three main areas: inside the tank, from the supply line connection, or from the base where the toilet sits. Each requires a different solution, and 5 minutes of identification now saves hours of work later.
Tank Leaks vs. Bowl Leaks vs. Base Leaks
A tank leak occurs when water drips from the toilet tank itself, pooling around its base or dripping onto the floor beneath it.
A bowl leak means water escapes from the bowl rather than the tank.
A base leak happens where the toilet connects to the floor, seeping around the bottom edge even though the tank and bowl appear dry.
To identify which type you have:
- Look for water on the floor around the toilet
- Check if the water appears under the tank, under the bowl, or around the base perimeter
- Feel the floor with your hand to locate the wettest area
- Note whether the leak happens during flushing or constantly
Check for Supply Line Leaks
The supply line carries water from your shutoff valve into the toilet tank. Leaks here are often the easiest to spot and fix. Check the flexible hose or rigid pipe running from the wall to the tank bottom.
Check for these signs:
- Water dripping from the connection points
- Visible cracks or splits in the line itself
- Water pooling near where the line connects to the wall
- Rust stains on the fitting or connection
Supply line leaks typically occur at the threaded connections where the line screws onto the shutoff valve or toilet inlet. Tightening these often solves the problem; if the line itself is cracked, replacement is necessary.
Turn Off the Water Supply
Before any repair, stop the water flow. Locate your toilet's shutoff valve, usually on the wall behind or beside the toilet near the floor, and turn it clockwise until it stops.
Test by flushing: the tank should not refill. If water keeps flowing, the shutoff valve may be broken and you'll need to turn off your home's main water supply instead.
Once the water is off, flush once more to empty the tank. This prevents spills while you work.
Gather Your Tools and Materials
Most toilet repairs require only basic tools you likely already own. Gather everything before you start to avoid mid-repair hardware store trips.
Essential tools:
- Adjustable wrench or pliers
- Flathead and Phillips screwdrivers
- Bucket or towels for water spillage
- Flashlight to see inside the tank clearly
Replacement parts depend on your leak type. Common parts to have on hand:
- Flapper kit (includes new flapper and chain)
- Fill valve replacement kit
- Wax ring and bolts (for base leaks)
- Supply line (if yours is cracked)
- Tank bolts and washers
A universal toilet repair kit from your local hardware store covers most common fixes and works for most standard toilets.
Fix a Toilet Tank Leaking from Inside
Tank leaks are the most common toilet problem: water either runs constantly into the bowl or drips from the tank bottom. The culprit is usually a worn flapper, failing fill valve, or loose chain.
Inspect and Replace the Flapper
The flapper is a rubber disk that seals the tank bottom. A worn flapper lets water slowly leak into the bowl even when you're not flushing (the EPA).
To inspect the flapper:
- Turn off the water supply
- Remove the tank lid carefully (it's fragile)
- Look at the bottom of the tank where the flapper sits
- Check if the rubber appears cracked, warped, or discolored
- Flush and watch the flapper seal, does it drop completely and make a tight seal?
If the flapper doesn't seal properly or shows damage, replacement is simple: flappers take 10 minutes to swap.
Steps to replace the flapper:
- Drain the tank completely
- Locate the flapper chain attached to the flush handle
- Unhook the chain from the handle arm
- Remove the old flapper by pulling it off the mounting pins
- Slide the new flapper onto the same pins
- Reattach the chain, leaving about one inch of slack
- Test by flushing, the tank should refill and stop
A properly working flapper ends the how to fix a leaking toilet step by step process right here for most homeowners.
Check and Adjust the Fill Valve
The fill valve (also called a ballcock) controls water flow into the tank and closes when the tank is full. If it sticks or wears out, water keeps running into the tank and overflows into the bowl.
To check the fill valve:
- Watch it during the fill cycle after flushing
- Listen for water flowing when the tank is already full
- Look for water spraying from the valve into the overflow tube
- Check if the float arm moves freely up and down
Many fill valve problems can be solved by cleaning. Mineral deposits clog the valve and prevent it from closing completely.
Steps to clean the fill valve:
- Turn off the water supply
- Flush to empty the tank
- Locate the fill valve inlet (where water enters the valve from the supply line)
- Unscrew the inlet cap by turning it counterclockwise
- Remove any debris, sediment, or mineral buildup
- Rinse the cap and screen under running water
- Reinstall the cap and turn the water back on
- Test by flushing
If cleaning doesn't stop the leak, replace the fill valve. Kits include detailed instructions.
Examine the Chain and Handle
The chain connects your flush handle to the flapper. Too short and the flapper won't fully close; too long and the handle becomes hard to press.
Check the chain:
- Is it attached securely at both ends?
- Does it have any broken links?
- Is there about one inch of slack when the handle is released?
- Does the flapper rise fully when you press the handle?
Adjust the chain by moving its attachment point on the handle arm; most hook into a small hole, so move it to a different hole to shorten or lengthen it. If broken, replacement takes seconds.
| Problem | Solution | Time Required |
|---|---|---|
| Worn flapper | Replace with new flapper | 10 minutes |
| Clogged fill valve | Clean inlet screen and cap | 15 minutes |
| Fill valve failure | Replace fill valve kit | 30 minutes |
| Loose or broken chain | Adjust or replace chain | 5 minutes |
Repair a Toilet Supply Line Leak
Supply line leaks are often visible and straightforward: water drips from the connection points where the line screws onto the shutoff valve or toilet inlet.
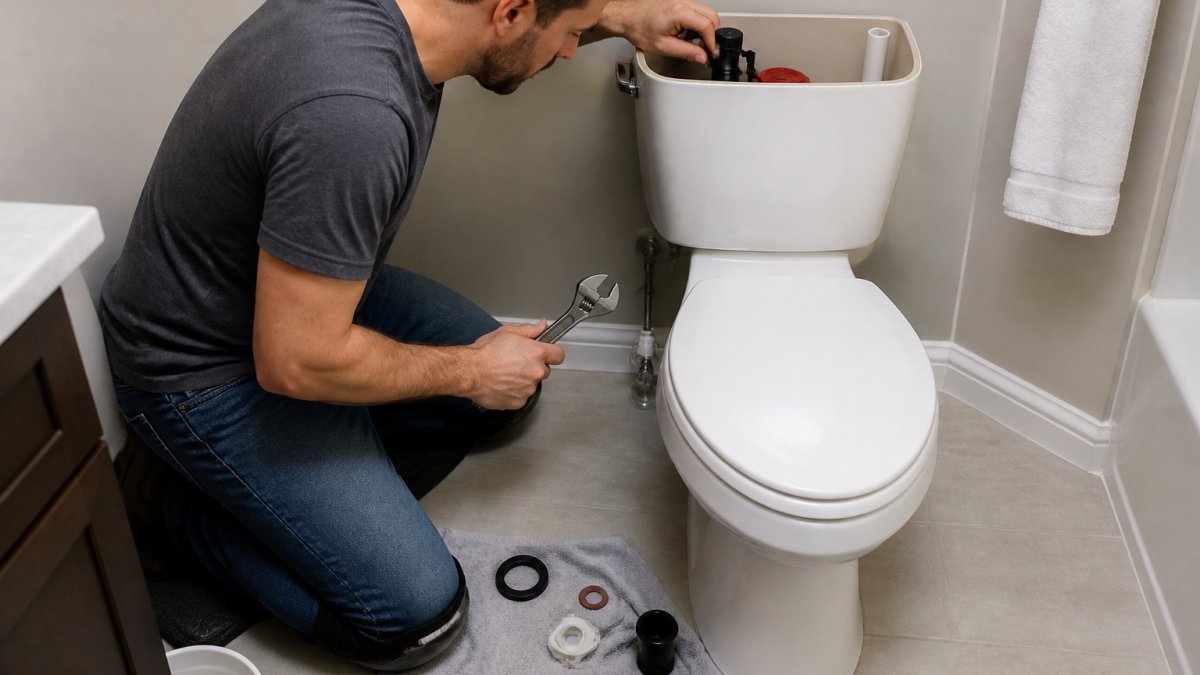
First, tighten the connections with your adjustable wrench, turning the fitting clockwise gently but firmly, since over-tightening can crack it.
If tightening doesn't stop the leak, the fitting washer has failed. You'll need to disconnect the line and replace the washer:
- Turn off the water supply
- Place a bucket under the connection
- Use your wrench to unscrew the fitting
- Remove the old rubber washer
- Install a new washer (they're inexpensive and universal)
- Reconnect the fitting and tighten
If the supply line itself is cracked or split, replacement is necessary. Flexible lines take 10 minutes: turn off the water, unscrew both ends, and install the new line.
Address a Toilet Leaking from the Bottom
A toilet leaking from the bottom is more serious than tank leaks. Water pooling around the base indicates a failing wax ring or seal. This seal creates a watertight connection between the toilet and the floor flange.
Replace the Wax Ring and Seal
Replacing a wax ring requires removing the entire toilet. It's a bigger project but manageable for a determined homeowner.
Steps to replace the wax ring:
- Turn off the water supply and drain the tank
- Disconnect the supply line using your wrench
- Locate the bolts on each side of the toilet base
- Unscrew and remove these bolts
- Rock the toilet gently side to side to break the wax seal
- Carefully lift the toilet straight up and set it aside on cardboard or towels
- Scrape away all old wax from the floor flange using a putty knife
- Clean the flange surface completely
- Install a new wax ring by pressing it firmly onto the flange
- Lower the toilet back onto the wax ring, aligning the bolts
- Press down firmly to compress the wax ring
- Reinstall the bolts and tighten evenly
- Reconnect the supply line
- Turn the water back on and test for leaks
The wax ring is the critical component. Invest in a quality one.
After installation, check under the toilet daily for a week. If water appears, the wax ring didn't seal and you'll need to remove and reinstall the toilet.
When to Call a Plumber for a Toilet Leak
Some toilet leaks are beyond DIY repair. Knowing when to call a professional saves time and money and prevents water damage.
Call a plumber if:
- The toilet bowl has visible cracks
- Water damage has spread to the subfloor or walls
- You've replaced the flapper and fill valve but the leak continues
- The supply line is rigid copper and you're uncomfortable working with it
- The toilet is old and multiple components are failing
At England's Plumbing & Heating, we handle complex toilet repairs and often identify problems homeowners miss. We serve Chester County.
Water damage escalates quickly. If you notice soft flooring, mold, or persistent moisture after a repair attempt, professional help is essential:
Test Your Repair and Prevent Future Leaks
After any repair, thorough testing ensures the leak is truly fixed. Incomplete testing means discovering the problem days later, once damage has worsened.
Test your repair:
- Turn the water supply back on
- Listen for the tank filling and stopping at the right level
- Flush and listen for water running into the bowl
- Wait 5 minutes without flushing, no water should enter the bowl
- Check the floor around the toilet for any moisture
- Flush again and verify the tank refills properly
- Monitor the toilet over the next 24 hours for any leaks
Prevention keeps future repairs minimal. Simple maintenance extends toilet life significantly.
- Check for running water monthly by listening to the tank
- Clean the fill valve inlet annually to prevent mineral buildup
- Avoid using chemical tank cleaners that degrade rubber components
- Replace the flapper every 3-5 years even if it's not leaking yet
- Don't use the toilet as a trash can, this clogs and damages internal parts
Regular inspection catches small problems before they become expensive repairs. Most toilet leaks start small and worsen gradually.
Toilet leaks waste water and damage your home. Most repairs are straightforward.
Frequently Asked Questions
What is the most common cause of a leaking toilet?
The flapper valve is the most common culprit. Over time, the rubber flapper deteriorates and no longer seals the flush valve properly, allowing water to leak from the tank into the bowl. You can often spot this by adding food coloring to the tank and checking if it seeps into the bowl without flushing. A worn flapper is one of the easiest and most affordable toilet tank leaking issues to fix yourself.
How can I tell whether a toilet leak is coming from the tank or the supply line?
Inspect the tank exterior first, if it's dry but water pools around the base, the leak is likely from the supply line or the wax ring seal. If the tank itself is wet or dripping, the leak is inside the tank. For a supply line leak, look where the water supply valve connects to the fill valve. Water spots or dripping water along this connection indicate a toilet supply line leak that may need tightening or replacement.
Can I fix a leaking toilet myself?
Many toilet leaks are DIY-friendly if you have basic tools and patience. Tank leaks from the flapper, fill valve, or chain are straightforward repairs. However, if your toilet is leaking from the bottom due to a failed wax ring, the repair requires removing the toilet from the floor, a more involved job. If you lack confidence, lack the right tools, or the leak is severe or in an unusual location, calling a professional plumber is the safer choice.
When should I call a plumber for a leaking toilet?
Call a plumber if the leak is from the toilet base (wax ring failure), if the supply line is cracked or damaged, if tank cracks are visible, or if your DIY repair doesn't stop the leak. Also seek professional help if water damage is spreading, if the toilet rocks or feels unstable, or if you're uncomfortable working with plumbing components. A professional can diagnose hidden issues and prevent costly water damage to your home.