 how-to
How to Check Well Pump Pressure: A Step-by-Step Guide
Table of Contents
- Safety First: Preparing Your Well System
- How to Check Well Pump Pressure: The Complete Workflow
- Understanding Well Pressure Switch Settings
- Performing a Well Pump Pressure Gauge Test
- Diagnosing Well Pump Short Cycling and Pressure Loss
- Common Well Pump Pressure Problems and What They Mean
- When to Stop and Call a Professional
- Conclusion
- Frequently Asked Questions
Last Updated: October 12, 2026
Safety First: Preparing Your Well System
Before you check well pump pressure, turn off power at the breaker box and mark the breaker so no one switches it back on. Wait five minutes to depressurize, then open a faucet until water stops flowing completely.
How to Check Well Pump Pressure: The Complete Workflow
Follow these steps in order for accurate readings every time.
Step 1: Turn Off Power to the Well Pump
Find the well pump breaker, usually a double-pole breaker, and switch it OFF for the whole process. If there's a separate disconnect switch near the pump, switch that OFF too. Do not restore power until testing is finished.
Step 2: Drain the Pressure Tank Before Testing
Open the lowest faucet in your home, typically a basement sink or outdoor spigot, and let water run out completely. Once it stops, open the faucet once more to confirm the tank is fully drained, residual pressure skews readings.
Step 3: Locate the Tank's Air Valve
On top of your pressure tank is a small valve that looks like a car tire valve, the air valve, or Schrader valve. Remove its cap counterclockwise; if stuck, wrap a cloth around it for grip and use gentle pressure.
Step 4: Check Pressure Tank Air Charge With a Tire Gauge
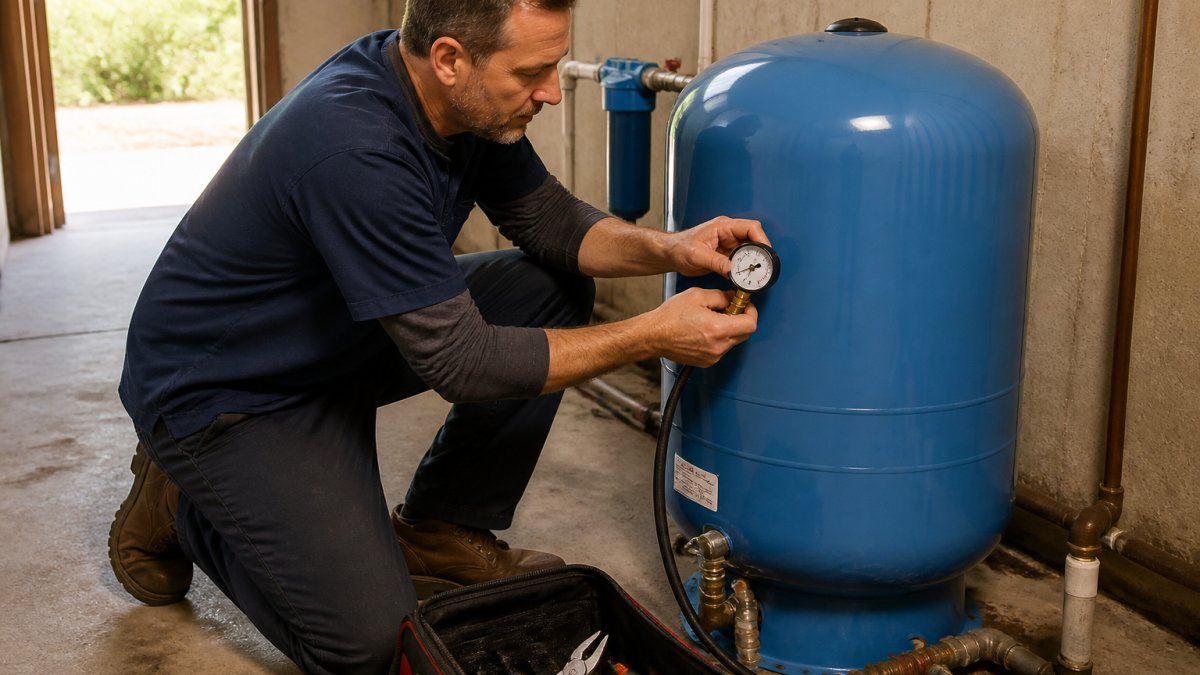
Press a tire pressure gauge firmly onto the valve stem until you hear a slight hiss; it displays a reading in PSI (pounds per square inch). Write this number down, it's your pre-charge pressure, the air pressure in an empty tank. Replace the cap without over-tightening. A typical pre-charge is 2 PSI below cut-in, about 38 PSI for a 40 PSI cut-in.
Understanding Well Pressure Switch Settings
The pressure switch controls when your pump turns on and off. Verifying its settings instead of assuming them separates a real diagnosis from a guess.
Reading the Water Pressure Gauge
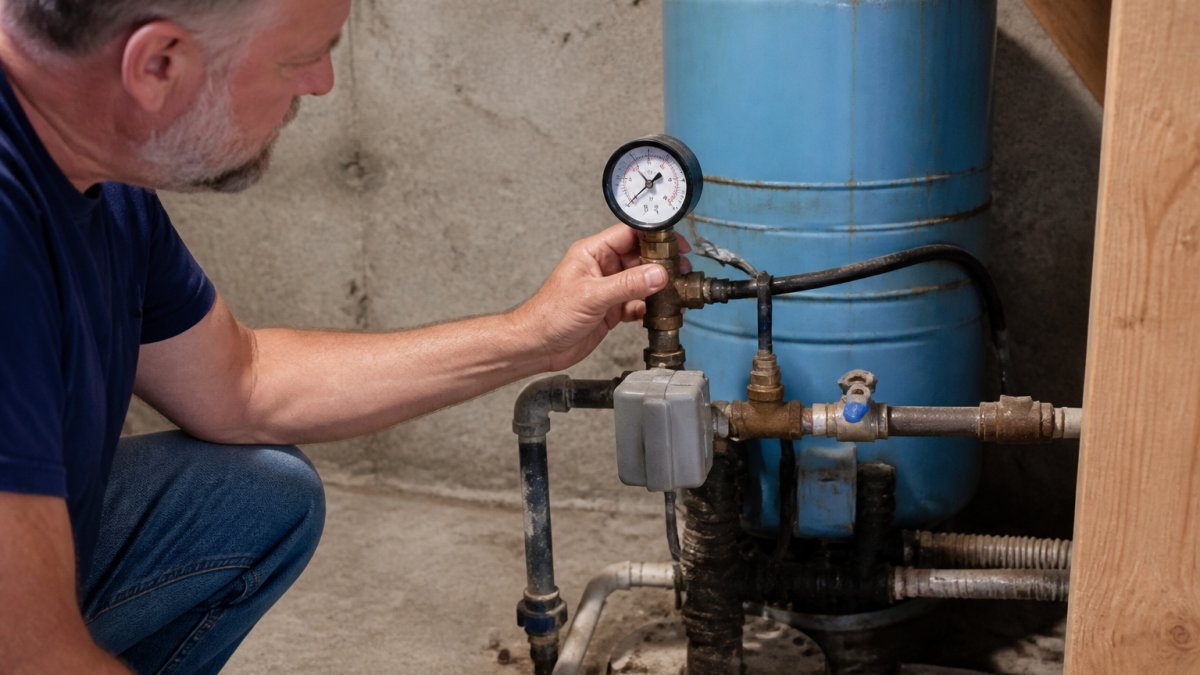
Your water pressure gauge, mounted on the tank or pipe near the switch, shows actual pressure right now: tank pressure with the pump off, climbing as the pump runs. A typical household well system operates between 30 and 50 PSI, though many are set to cut in at 40 PSI and cut out at 60 PSI.
Identifying Cut-In and Cut-Out Pressure Points
The cut-in pressure is where the pump turns on; the cut-out pressure is where it shuts off. The difference is the differential, typically 20 PSI, such as 40 PSI cut-in and 60 PSI cut-out. Look for a label on the switch listing both pressures; if there's no label, call a professional to check your settings safely.
Verifying the Actual Settings Instead of Assuming Them
The label shows the factory setting, not the current one, springs weaken and adjustment nuts get turned. To verify what your system is actually doing:
- With the system drained and power off, note the gauge reading. It should be near zero.
- Restore power and watch the gauge climb. The moment the pump starts is your real cut-in pressure. The moment it stops is your real cut-out pressure.
- Write both numbers down. Subtract cut-in from cut-out to get your real differential.
- Compare those numbers to the label. If they differ by more than a few PSI, the switch has been adjusted or has drifted.
A system labeled 40/60 often actually cuts in at 32 PSI and out at 55 PSI once the springs age, drift that commonly causes weak shower pressure or a pump that runs too long.
Checking Gauge Accuracy Before You Trust It
A pressure gauge is a mechanical part that fails, and a stuck or inaccurate gauge sends you chasing the wrong problem, you may replace a perfectly good switch because the gauge lied.
Before diagnosing anything from the tank gauge, confirm it's accurate:
- Compare against a second gauge. A screw-on tire gauge or a second pressure gauge threaded onto a nearby drain valve or hose bib gives you an independent reading. If the two disagree by more than about 5 PSI, suspect the tank gauge.
- Watch for a stuck needle. Tap the gauge face lightly. If the needle jumps, the movement is sticking.
- Check for a blocked snubber or sensing line. A tiny orifice or snubber fitting can clog with mineral scale, making the gauge read low or not move at all even when pressure is changing.
- Look for a zero that isn't zero. With the system fully drained and power off, the gauge should read zero. If it reads 10 PSI on an empty tank, that offset will follow every reading you take.
If the tank gauge fails any of these checks, replace it before you diagnose the pump or switch. A gauge is inexpensive and easy to swap; a misdiagnosis is not.
How a Pressure Switch Works
The pressure switch is a simple mechanical device: a spring is compressed by water pressure against a diaphragm. When pressure drops below cut-in, the spring pushes back, closes an electrical contact, and starts the pump motor. As pressure builds to cut-out, water pressure overcomes the spring, opens the contact, and stops the pump. The switch sits atop the tank, connected by a small pipe.
Performing a Well Pump Pressure Gauge Test
With the system drained, attach your tire gauge to the tank's air valve and record the pre-charge pressure as your baseline. Restore power; the pump starts immediately because the tank is empty and pressure is at zero. Watch the tank gauge climb; at your cut-out setting (typically 60 PSI), the pump should stop automatically. If it doesn't, turn off power immediately, this indicates a faulty pressure switch or a wiring problem.
Diagnosing Well Pump Short Cycling and Pressure Loss
Short cycling means the pump turns on and off too frequently, wearing out the motor. Pressure loss means the gauge drops even when the pump isn't running. These symptoms point in different directions, so work through a fixed sequence.
The Diagnostic Sequence
Run these checks in order; each narrows the possible causes before the next.
Step 2, Compare pre-charge to cut-in. It should sit about 2 PSI below the real cut-in, near 38 PSI for a verified 40 PSI cut-in.
Step 5, Decide which branch you are on. Use steps 1-4 to pick the matching cause below.
Decision Tree: What Your Readings Mean
Pre-charge low, pump short cycles, weak faucet pressure. The tank has lost its air cushion, the most common cause of short cycling.
Pre-charge too high. If the air charge is above cut-in, the tank can't accept water before the pump starts and cycles almost immediately.
Gauge holds steady but faucet pressure is low. The restriction is downstream: a clogged filter, failing pressure-reducing valve, or worn pump no longer building full pressure.
Why the Order Matters
Most homeowners replace the pressure switch first because it's cheapest, usually the wrong move. A low pre-charge and a clogged sensing line both mimic a bad switch, so replacing it without checking the tank and sensing line often leaves the problem in place. Measure the pre-charge first, verify the gauge second, and only then suspect the switch.
Common Well Pump Pressure Problems and What They Mean
Pump won't start: The pressure switch may be faulty or the pre-charge too high.
Pump runs constantly: The cut-out setting may be too high or the switch stuck, so it can't sense when to stop the pump.
Low water pressure at faucets: Something is restricting flow, a clogged filter, failing check valve, or problem with the pump itself.
Gauge shows zero but pump is running: The gauge may be broken or its line to the tank blocked.
When to Stop and Call a Professional
You've now learned how to check well pump pressure safely. But some situations require expert help.
Stop testing and call a professional if:
- The pump won't turn on even though power is on
- The pump runs constantly and won't shut off
- Pressure drops rapidly even though the pump isn't running
- You see water leaking from the tank or pipes
Many homeowners try to diagnose pressure problems themselves, only to find the real issue needs specialized equipment. We test your system properly, identify the root cause, and fix it right the first time.
Conclusion
Checking well pump pressure is manageable when you follow the right steps: turn off power, drain the system, measure the pre-charge with a tire gauge, and observe how the pump behaves when you restore power.
If your testing uncovers a problem, or you're uncomfortable doing this yourself, England's Plumbing & Heating is here to help.
Frequently Asked Questions
How does a pressure switch work in a well pump system?
A pressure switch monitors water pressure inside the pressure tank. When pressure drops to a set level (cut-in pressure), the switch closes an electrical contact, turning the pump on. As the pump fills the tank, pressure rises. When it reaches the cut-out pressure setting, the switch opens the contact and the pump stops. This automatic cycle keeps your water supply available without running the pump constantly.
What should the air pressure be in my well pressure tank?
The air pre-charge pressure in your pressure tank should typically be set 2 PSI below your pump's cut-in pressure. For example, if your pump cuts in at 30 PSI, the tank air charge should be 28 PSI. Check this with a tire gauge at the tank's air valve when the system is drained and the pump is off. Incorrect air pressure reduces tank efficiency and can cause short cycling.
Why is my well pump short cycling?
Short cycling occurs when your pump turns on and off too frequently, sometimes every few minutes. Common causes include a waterlogged pressure tank (failed bladder or no air charge), a faulty pressure switch, a leak in the system, or a check valve failure. Test the tank's air pressure first, if it's zero or very low, that's likely your problem. If the air charge is correct, the pressure switch or internal tank components may need professional inspection.
Where should I connect a pressure gauge to test well pump pressure?
Connect a pressure gauge to the test port on your pressure tank, or to a faucet closest to the tank if no test port exists. The gauge will show your system's current water pressure in PSI. Record the reading when the pump is running (cut-out pressure) and again after the pump has been off for a few minutes (cut-in pressure). A healthy system typically shows a 20 PSI difference between these two readings.