 how-to
Improve Hot Water Pressure in Shower Naturally
Table of Contents
- Why Hot Water Pressure Drops in Showers
- Step 1: Clean Your Showerhead to Improve Water Pressure
- Step 2: Address Water Heater Sediment Buildup
- Step 3: How to Increase Shower Pressure Without a Pump
- Step 4: Shower Mixing Valve Troubleshooting
- Natural Methods vs. Mechanical Fixes
- When to Call a Professional Plumber
- Frequently Asked Questions
Last Updated: October 10, 2026
Why Hot Water Pressure Drops in Showers
A weak hot water pressure shower frustrates homeowners every day. You turn on the shower expecting a strong flow, but instead get a weak trickle. Understanding why this happens is the first step to fixing it.
The issue usually stems from one of three sources: debris blocking the showerhead, sediment buildup in your water heater, or restrictions in the water supply line itself. Sometimes it's a combination of these problems working together.
Pressure vs. Flow Rate: What's the Difference?
Water pressure and water flow rate are different things, and that distinction matters for diagnosis. Pressure is the force pushing water through your pipes, measured in pounds per square inch (PSI).
You might have strong pressure but weak flow. Or the opposite. A clogged showerhead reduces flow but doesn't change the pressure behind it. A faulty mixing valve affects pressure directly. Knowing which one you're dealing with helps you target the right fix.
Common Causes of Low Hot Water Pressure
Several issues create problems with your hot water pressure shower. Mineral deposits inside the showerhead block individual spray holes.
The shower hose itself can develop kinks or blockages. Water supply shutoff valves under the sink or near the main line might be partially closed.
Sometimes the problem isn't your plumbing at all. If your water heater is old or undersized, it may struggle to meet demand during peak usage times.
Step 1: Clean Your Showerhead to Improve Water Pressure
Start here because it's the easiest fix and often solves the problem completely. A clogged showerhead causes most low-pressure complaints in individual fixtures. The good news: you can clean it yourself in under an hour using items you probably have at home.
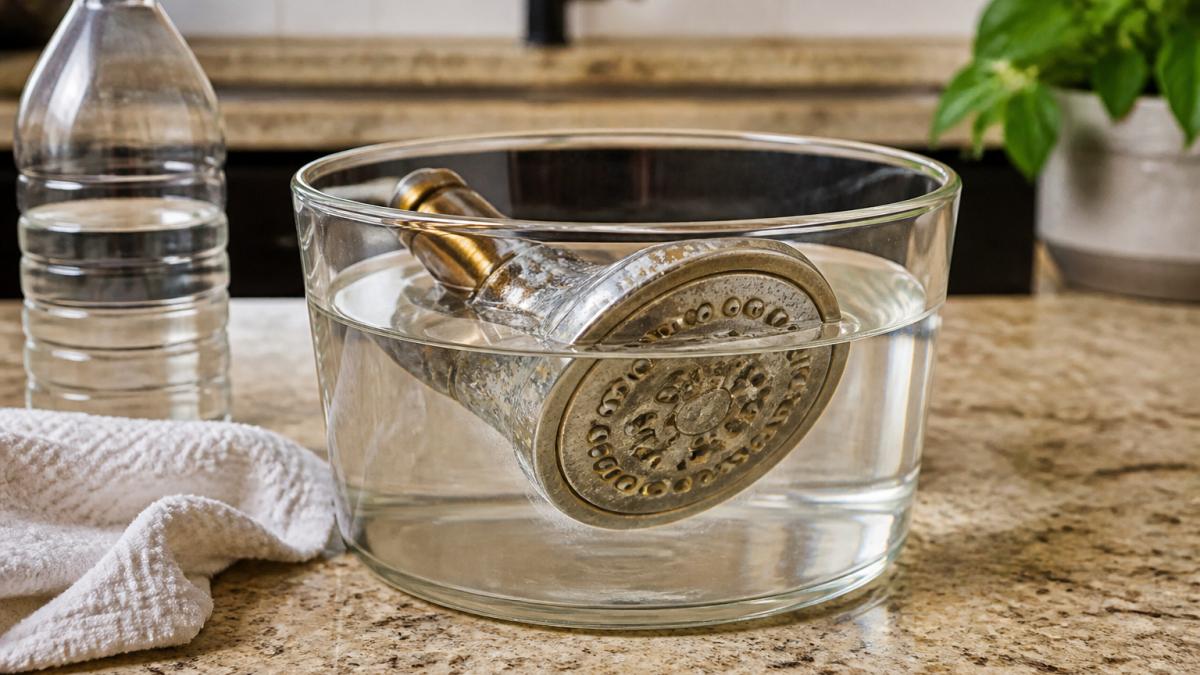
Remove and Inspect the Showerhead
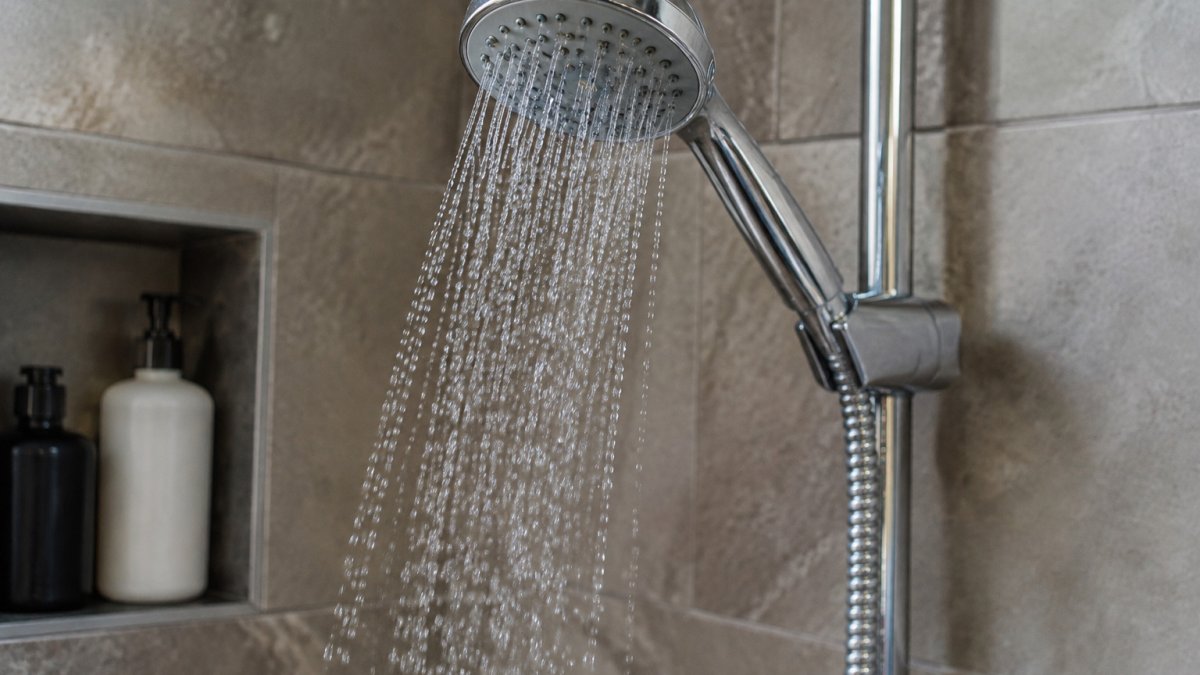
Turn off the water. You'll likely see white, crusty deposits, that's limescale and mineral buildup from hard water.
Hold it up to the light. Check if the spray holes are visibly blocked. If you see white, tan, or rust-colored deposits clogging the holes, you've found your problem.
Material compatibility note: Before cleaning, identify your showerhead's finish. Chrome, stainless steel, and plastic showerheads tolerate vinegar well.
Safe Vinegar Soak: Step-by-Step
White vinegar is a natural descaling agent that dissolves mineral buildup without harsh chemicals. It's safe, inexpensive, and effective for most deposits.
What you'll need:
- White vinegar (5% acidity, standard grocery-store vinegar)
- A plastic bag, container, or bowl large enough to submerge the showerhead
- Warm water
- An old toothbrush or soft-bristled brush
- A small nail, toothpick, or thin wire
- Towels
Steps:
-
Fill the container. Pour white vinegar into your bag or container until it's deep enough to fully submerge the showerhead. Do not dilute the vinegar; full-strength works best for mineral deposits.
-
Submerge the showerhead. Place the showerhead in the vinegar. If using a plastic bag, seal it loosely around the shower arm so the showerhead stays submerged. If the showerhead won't fit in a container, fill a bag with vinegar and tie it around the showerhead, securing it with a rubber band or string.
-
Soak for the right duration. For light deposits, soak for 4-6 hours. For moderate buildup, soak 8-12 hours. For heavy deposits, soak overnight (up to 16 hours). Do not exceed 16 hours for specialty finishes like brass or bronze.
-
Check progress. After soaking, remove the showerhead and inspect. The deposits should feel soft and loose. The vinegar reacts with limescale and breaks it down chemically.
-
Scrub gently. Use an old toothbrush to gently scrub the surface and around the spray holes. Work in circular motions. Don't scrub hard enough to scratch the finish. Pay special attention to the nozzles and any recessed areas where deposits collect.
-
Rinse thoroughly. Hold the showerhead under warm running water and rinse away all vinegar and loosened deposits. Tilt it in different directions to ensure water flows through all the spray holes. The smell of vinegar should fade as you rinse.
Clear Individual Spray Holes
After vinegar soaking and brushing, many holes will run clear. But some may still be blocked, especially if deposits were heavy.
Use a toothpick, small nail, or thin wire to carefully poke through each hole. Push gently, do not force.
Work around the entire showerhead, checking each hole. Some may clear immediately; others may need a second gentle poke. Rinse again with hot water to flush out loose debris.
Do not use:
- Steel wool or abrasive scrubbers (they scratch finishes)
- Bleach or harsh chemicals (they can damage seals and finishes)
- High-pressure tools or compressed air (they can damage internal components)
Reassemble and Test
Screw the showerhead back on by hand. If it's tight, use an adjustable wrench, but don't over-tighten, you can crack the connection. Turn the water on and test. You should notice improved pressure immediately if the showerhead was the culprit.
If pressure is still weak after cleaning, move to Step 2. The problem likely lies in your water heater or supply lines.
Step 2: Address Water Heater Sediment Buildup
If cleaning the showerhead didn't solve it, sediment inside your water heater is likely the problem. Sediment reduces how much hot water your heater can deliver and lowers the temperature of the water it produces.
How Sediment Reduces Hot Water Flow
Hard water contains dissolved minerals (Hardness of Water). As water heats inside the tank, those minerals settle to the bottom as sediment. Over time, this layer thickens.
More importantly, sediment takes up space in the tank. A tank that should hold 50 gallons of usable hot water might only hold 40 gallons because sediment occupies the bottom 10 gallons.
Sediment also restricts the outlet pipe where hot water leaves the tank, directly reducing flow to your fixtures.
Flushing Your Water Heater Safely
Flushing removes sediment and restores hot water pressure. This is a natural maintenance task you can do yourself, but it requires care.
What you'll need:
- Garden hose
- Adjustable wrench
- Bucket
- Towels
- Flat-head screwdriver
Steps to flush your water heater:
- Turn off the power (electric heater) or gas (gas heater)
- Turn off the cold water supply valve at the top of the tank
- Let the tank cool for 30 minutes
- Locate the drain valve at the bottom of the tank
- Attach a garden hose to the drain valve
- Direct the hose to a safe location (outside or into a floor drain)
- Open the drain valve slowly
- Allow water to flow for 5-10 minutes, then close the valve
- Repeat this process 2-3 times until the water runs clear
- Close the drain valve fully
- Turn the cold water supply back on
- Wait for the tank to refill
- Turn power or gas back on
This process takes 30-45 minutes. You'll flush out sediment and restore water heater performance. Hot water pressure should improve noticeably.
Step 3: How to Increase Shower Pressure Without a Pump
If your showerhead is clean and your water heater is flushed, check the water supply lines. Blockages or restrictions in the hose or shutoff valves reduce flow to your shower.
Check and Clean the Shower Hose
Disconnect the shower hose from the showerhead. Look inside the connection point. You might see sediment or debris. Use a straightened wire to gently clear any blockage.
Feel along the hose for kinks or damage. A kinked hose restricts flow just like a clog. Straighten it out.
Run water through the hose alone (without the showerhead attached) into a bucket. If the flow is weak, the hose itself is the problem. Replace it with a new one.
Inspect Water Supply Shutoff Valves
Locate the shutoff valves under your bathroom sink and at the main water line. These are small handles or knobs that control water flow.
Turn each valve fully open. Some valves have a lever handle (should point along the pipe when fully open).
If a valve is stuck or won't turn, don't force it. That's a sign it needs professional attention. Call England's Plumbing & Heating for valve inspection and repair.
Step 4: Shower Mixing Valve Troubleshooting
Your shower mixing valve blends hot and cold water to reach your desired temperature. If this valve malfunctions, it can restrict hot water flow even if everything else works fine.
Identifying a Faulty Mixing Valve
A faulty mixing valve shows specific signs. You might notice that adjusting the handle doesn't change temperature or pressure.
You might hear a grinding or squealing sound from the valve. Or you might see water dripping from the shower head even when it's fully closed.
These symptoms suggest the valve cartridge or internal seals are worn. Replacement is the best fix, though some adjustments can help temporarily.
Adjusting Valve Settings for Better Pressure
Some mixing valves have adjustment screws that affect pressure balance. Look behind the handle for a small screw or cap.
Small adjustments can improve hot water pressure without requiring replacement. Turn the adjustment screw a quarter turn, test the pressure, and repeat if needed.
If adjustment doesn't help, or if you can't locate the adjustment mechanism, the valve likely needs professional service. England's Plumbing & Heating can diagnose mixing valve problems and replace faulty cartridges.
Natural Methods vs. Mechanical Fixes
Natural cleaning methods work well for mineral deposits and sediment. Vinegar soaking, gentle brushing, and flushing remove buildup without chemicals or tools.
But some problems require mechanical or plumbing fixes. A kinked hose needs straightening or replacement. A stuck shutoff valve needs a professional touch.
The key is diagnosing correctly. Start with the natural fixes. If those don't work, move to mechanical solutions. Beyond that, professional help saves time and prevents damage.
| Problem | Natural Method | Mechanical Fix | Best For |
|---|---|---|---|
| Mineral deposits on showerhead | Vinegar soak | Replacement | Light to moderate buildup |
| Sediment in water heater | Tank flush | Professional flush | Regular maintenance |
| Kinked shower hose | Straighten | Replace hose | Quick fixes |
| Stuck shutoff valve | None | Professional repair | Stuck or damaged valves |
| Worn mixing valve | Adjustment | Cartridge replacement | Worn internal seals |
When to Call a Professional Plumber
Some situations require expert help.
If you're uncomfortable working with your water heater, don't attempt the flush yourself.
If low pressure affects your entire home, not just the shower, you likely have a main line issue or a faulty pressure regulator.
England's Plumbing & Heating serves Chester County with expert water heater service, mixing valve repair, and pressure diagnostics.
Frequently Asked Questions
Why is my hot water pressure low only when the water is hot?
Low hot water pressure specifically occurs when sediment buildup inside your water heater restricts flow, or when your mixing valve is partially closed. The cold-water line remains clear, so you notice pressure only drops once hot water engages. Check your water heater for sediment accumulation and inspect the mixing valve's adjustment screw, it may need opening slightly to restore full pressure.
How can I improve my hot water pressure without calling a plumber?
Start by cleaning your showerhead with vinegar to remove mineral deposits, then flush your water heater to clear sediment buildup. Check that shutoff valves under your sink are fully open, and inspect your shower hose for kinks or blockages. If pressure improves after these steps, you've solved it naturally. If problems persist after cleaning, sediment, and valve checks, internal plumbing issues may require professional diagnosis.
Can cleaning a showerhead actually improve water pressure?
Yes. Mineral deposits and sediment clog the spray holes, reducing flow rate significantly. Soaking your showerhead in white vinegar for 2-4 hours dissolves limescale, and using a toothpick to clear individual holes restores spray patterns. Many homeowners report noticeably better pressure immediately after cleaning. This is one of the fastest and cheapest fixes for low shower pressure.
How do I know if low hot water pressure is caused by my water heater?
If only hot water has low pressure while cold water flows normally, your water heater likely has sediment buildup or a faulty dip tube. Test by running hot water from other fixtures, if they're also weak, the heater is the culprit. If only the shower is affected, the issue is probably the showerhead or mixing valve. Flushing your water heater can restore pressure if sediment is the cause.
Low hot water pressure in your shower doesn't have to be permanent. Most cases resolve with simple cleaning and maintenance. If natural methods don't restore your pressure, professional diagnosis pinpoints the real problem. England's Plumbing & Heating offers same-day service for pressure issues and can book your appointment online. Get your hot water pressure back and enjoy a strong, satisfying shower again.