 how-to
Are You Maintaining Your Water Filter Right?
Last Updated: October 25, 2026
Quick Summary
Water filter maintenance means replacing cartridges on schedule, cleaning and sanitizing housings, checking seals and pressure, and testing water quality so the system keeps removing contaminants. Skip those steps and a spent cartridge can become a breeding ground for the very bacteria it was meant to block. Most of this work is simple once you follow a system-by-system schedule.
- Sediment prefilters typically need replacement every 3-6 months, while RO membranes last 2-3 years.
- Clean the filter housing at every cartridge change and reseat the O-ring with food-grade lubricant.
- Check RO storage tank pressure with a standard tire gauge; low pressure means weak faucet flow.
- Sanitize housings and lines annually with a diluted bleach solution or NSF/ANSI 60-certified sanitizer.
- Seal spent cartridges in a plastic bag before disposal and never rinse and reuse them.
Table of Contents
- Why Water Filter Maintenance Matters More Than You Think
- Your Water Filter Replacement Schedule: What to Change and When
- Whole-House Water Filter Maintenance: Keeping Every Tap Covered
- Reverse Osmosis System Maintenance: Membranes, Tanks, and Filters
- Cleaning, Sanitizing, and Flushing: Step-by-Step
- Leaks, Pressure, and Performance: What to Check and Fix
- Your Water Filter Maintenance Checklist for Every Season
- Book a Water Quality Check with England's Plumbing & Heating
- Frequently Asked Questions
Why Water Filter Maintenance Matters More Than You Think
A water filter is not a set-and-forget appliance.
Water filter maintenance is the practice of replacing cartridges on schedule, cleaning and sanitizing housings, checking seals and pressure, and testing water quality so the system keeps removing contaminants.
Here is the part most guides get wrong. If you are still deciding whether filtration is worth the upkeep, our guide on whether a water filtration system is worth it lays out the full case.
The good news: most of this work is simple. Below we break it down system by system, with a schedule you can actually follow.
Your Water Filter Replacement Schedule: What to Change and When
The right replacement interval depends on the filter type, your water quality, and how much water your household uses. Manufacturer recommendations are your starting point, not a suggestion to ignore. The table below gives a practical baseline, but the calendar that follows is what most guides leave out: a system-by-system schedule you can actually post on the utility room wall.
| Filter Type | Typical Replacement Interval | What It Removes |
|---|---|---|
| Sediment prefilter | Every 3-6 months | Sand, rust, grit |
| Carbon pre-filter | Every 6-12 months | Chlorine, taste, odor |
| RO membrane | Every 2-3 years | Dissolved contaminants |
| Whole-house cartridge | Every 3-12 months | Sediment, chlorine |
| Under-sink carbon block | Every 6 months | Chemicals, lead |
| UV lamp (if equipped) | Every 12 months | Bacteria, viruses |
| Post-carbon polishing filter | Every 6-12 months | Residual taste and odor |
Hard water, heavy sediment, or high usage shortens these windows. Check your manual first, then adjust based on what you see.
A System-by-System Maintenance Calendar
Conflicting intervals are the number-one source of confusion in filter maintenance. The calendar below resolves them by grouping tasks by system type and frequency, so you are not juggling five different manufacturer schedules in your head.
| System Type | Monthly | Quarterly | Annually | Every 2-3 Years |
|---|---|---|---|---|
| Whole-house sediment/carbon | Inspect housing for sediment; check pressure | Replace sediment prefilter | Replace carbon cartridge; clean housing and O-rings | , |
| Under-sink carbon block | Check flow at faucet | , | Replace cartridge | , |
| Reverse osmosis | Check tank pressure and drain line | Replace sediment and carbon pre-filters | Sanitize system; replace post-carbon filter | Replace RO membrane |
| UV purification | Verify lamp indicator | , | Replace UV lamp; clean quartz sleeve | , |
| Water softener (if paired) | Check salt level | , | Inspect resin bed; clean brine tank | , |
A common pattern is to anchor the big tasks to a single month, many homeowners choose fall, so sanitizing, carbon replacement, and O-ring inspection happen together. That reduces the chance of forgetting a step and makes the maintenance log easier to read.
Symptom-to-Action Troubleshooting
Routine schedules handle the predictable work. The table below handles the rest: match the symptom to the likely cause and the first action to take.
| Symptom | Likely Cause | First Action |
|---|---|---|
| Slow flow at the dedicated faucet | Clogged pre-filter or low tank pressure | Replace pre-filter; check tank pressure with a tire gauge |
| Chlorine or sulfur taste returning | Spent carbon cartridge | Replace carbon filter; flush lines |
| Cloudy or discolored water | Sediment breakthrough or disturbed sediment in lines | Inspect and replace sediment prefilter; flush |
| Water pressure dropping throughout the house | Clogged whole-house cartridge or downstream restriction | Replace cartridge; check pressure at a consistent gauge point |
| Constant heavy flow from RO drain line | Failing membrane or stuck valve | Test membrane performance; inspect valve |
| Visible sediment in housing | Prefilter overloaded | Change prefilter early; consider a finer micron rating |
| Minor drip at fitting | Worn O-ring or loose connection | Reseat O-ring with food-grade lubricant; tighten fitting |
Any one of these means it is time to inspect and likely act. Do not wait for all of them.
Whole-House Water Filter Maintenance: Keeping Every Tap Covered
Whole-house filtration protects every fixture at once, which makes it the hardest-working system in the home and the one that needs the most consistent attention.
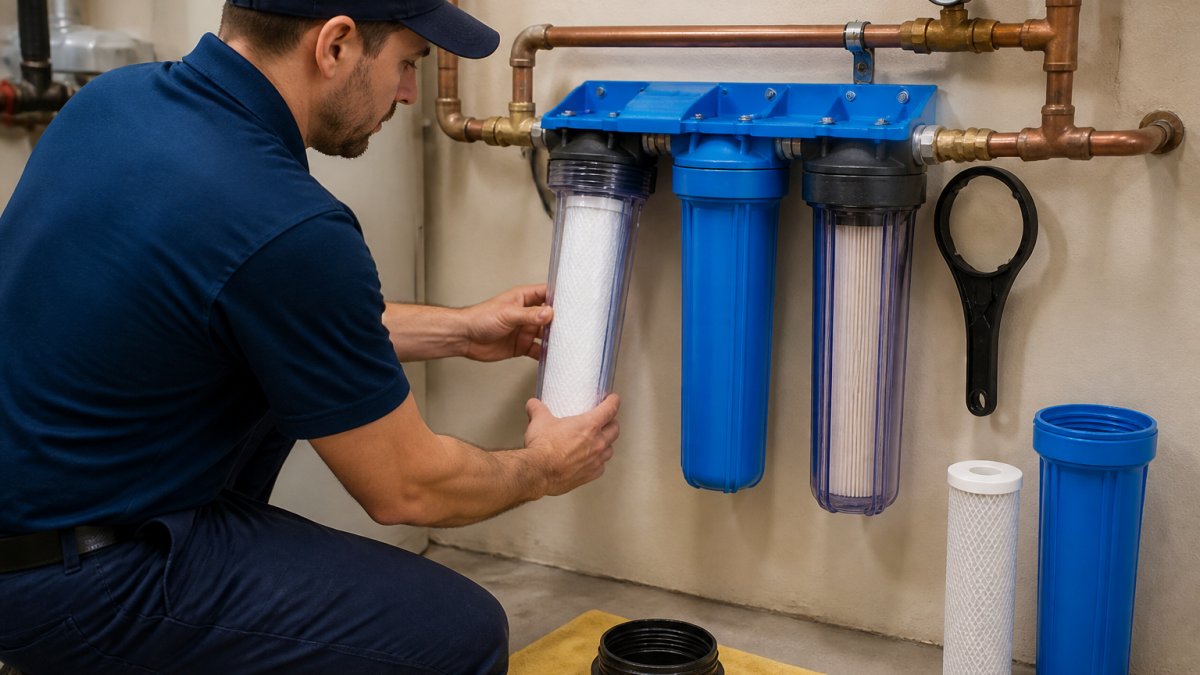
Start with the cartridge. Follow the replacement interval, but inspect monthly. If you see heavy sediment buildup early, change it early. Next, clean the filter housing at every cartridge change.
Then watch your pressure. A steady reading is a healthy system. A creeping drop points to a clogged filter or a restriction downstream. For the related conditioning equipment, our breakdown of water conditioning system maintenance covers the deeper upkeep requirements.
Reverse Osmosis System Maintenance: Membranes, Tanks, and Filters
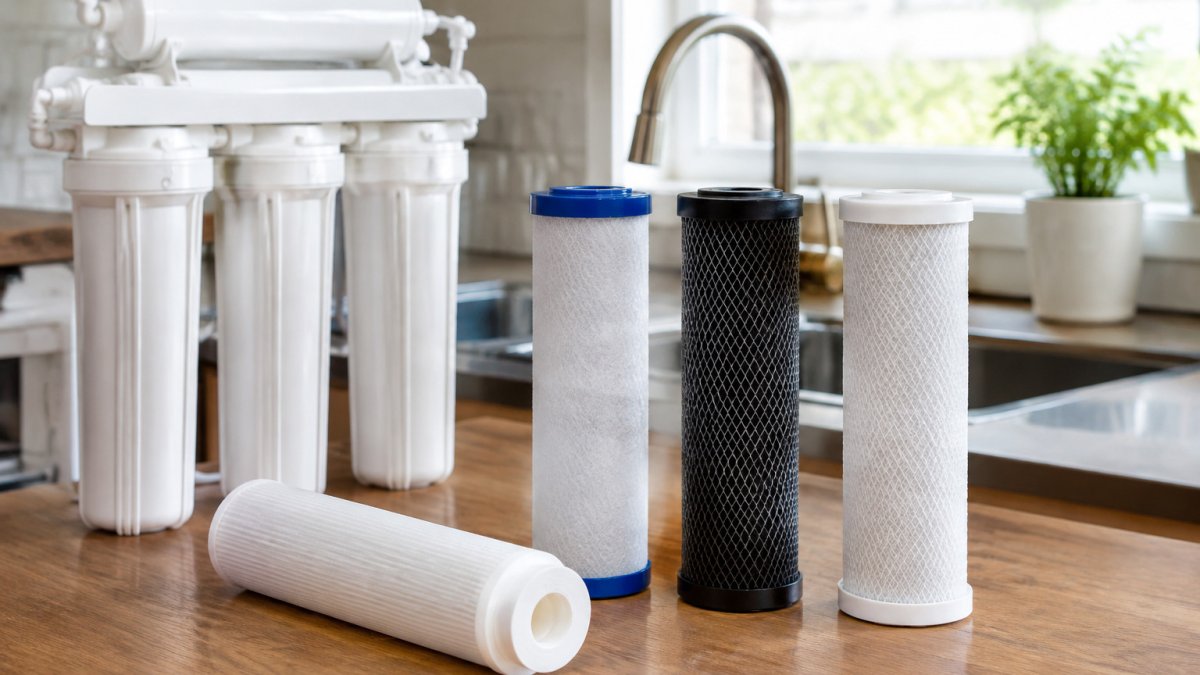
Reverse osmosis system maintenance is more involved than a basic cartridge filter because an RO system has several stages that wear at different rates.
Change the sediment and carbon pre-filters on schedule. This is the single best way to protect the RO membrane, which is the most expensive part to replace. A clogged pre-filter lets sediment through and shortens membrane life fast.
Check the storage tank pressure with a standard tire gauge. Low tank pressure means weak flow at the faucet even when the membrane is fine.
Sanitize the system annually. More on that below.
Cleaning, Sanitizing, and Flushing: Step-by-Step
Cleaning and flushing keep the system hygienic between cartridge changes. Work through these steps at least once a year, or whenever you notice odor or taste issues. The steps below go further than most guides by covering safe handling, disposal, and contamination prevention, the details that separate a routine cleaning from a risky one.
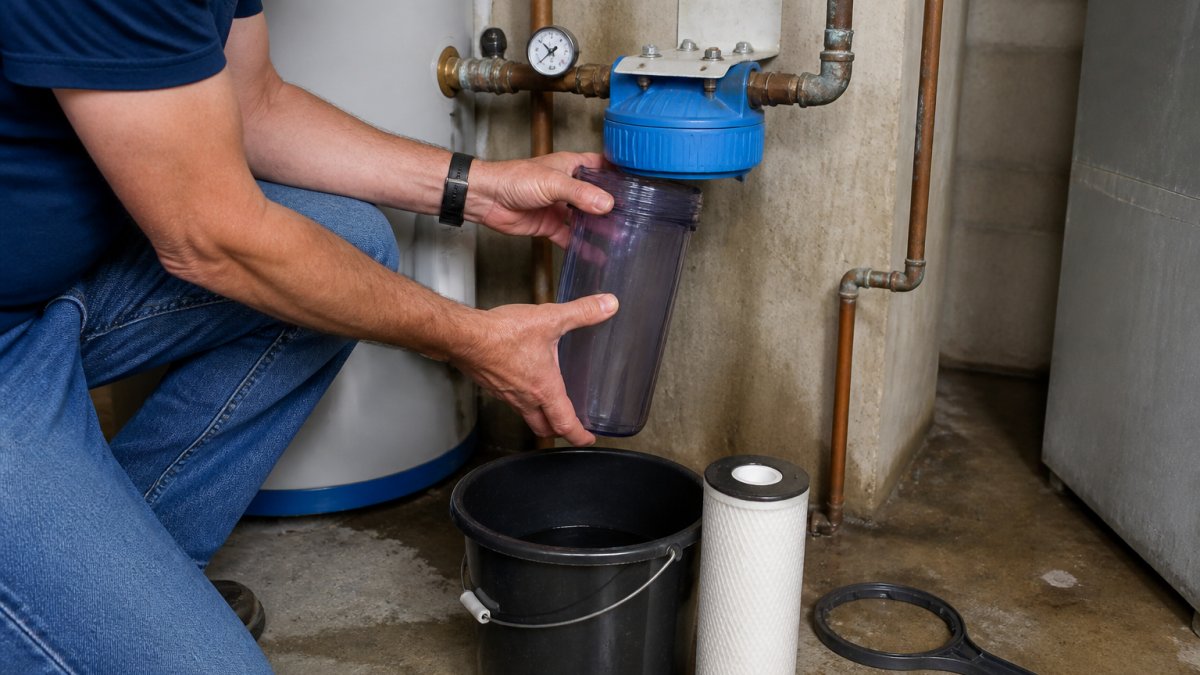
- Shut off the water supply to the system and relieve pressure at the nearest faucet.
- Remove the filter cartridge and set it aside or discard it.
- Clean the housing with warm water and a soft brush. Do not use harsh chemicals on plastic.
- Inspect the O-ring and fittings for wear, cracks, or mineral buildup.
- Flush the lines by running water through for a few minutes before reinstalling.
- Reinstall a fresh cartridge, reseat the O-ring, and restore water slowly.
- Run the tap for several minutes to clear air and carbon fines.
Sanitizing the System Safely
Sanitize housings and lines with a diluted bleach solution or an NSF/ANSI 60-certified sanitizer, following the product's directions exactly. A common household ratio is one teaspoon of unscented household bleach per gallon of water, but always defer to the sanitizer label and your system manufacturer's instructions. Rinse thoroughly afterward and flush until there is no chlorine smell before drinking. Never mix bleach with other cleaners. If you are unsure about the concentration or the procedure for your specific unit, consult your system manufacturer's instructions.
Handling Used Cartridges and Preventing Cross-Contamination
Used cartridges can hold concentrated sediment, biofilm, and the contaminants they captured. Treat them as soiled items:
- Bag before disposal. Seal spent cartridges in a plastic bag before placing them in household trash. Check local solid-waste rules for any restrictions on filter media.
- Do not compost or rinse and reuse disposable cartridges. Reusing a spent cartridge risks releasing captured contaminants back into the water.
- Wash hands and tools after handling cartridges and housings. Keep a dedicated brush and bucket for filter work rather than sharing kitchen tools.
- Sanitize the work area and avoid setting cartridges on food-prep surfaces.
- Replace O-rings if they are flattened, cracked, or stiff; a worn O-ring is a common entry point for contamination.
Flushing and Restart
After sanitizing, flush the system until the water runs clear and odor-free. For RO systems, discard the first tank of produced water after sanitizing. Restore water pressure slowly to avoid water hammer, and check every fitting for drips before returning the system to service.
Leaks, Pressure, and Performance: What to Check and Fix
Most filter problems announce themselves before they become emergencies. A monthly walk-around catches them early.
Check these points:
- Fittings and connections for moisture, drips, or mineral crust
- Valves for stiffness or seepage
- O-rings for flattening or cracks
- Water pressure at a consistent gauge point
- Flow rate at the faucet
- Water quality with a basic test kit
A slow leak under a sink can rot a cabinet floor for months before you notice. Fix small issues while they are small. If pressure problems trace back to your well equipment, our guide to the signs of a failing well pressure tank helps you diagnose the cause.
Your Water Filter Maintenance Checklist for Every Season
A seasonal rhythm makes water filter maintenance checklist work manageable instead of overwhelming. Here is a simple system-by-system calendar:
| Season | Task |
|---|---|
| Spring | Replace pre-filters, inspect housings, test water |
| Summer | Check pressure and flow, inspect for leaks |
| Fall | Annual sanitizing, replace carbon filters, check O-rings |
| Winter | Full inspection, review maintenance log, plan replacements |
Keep a simple log: date, filter changed, pressure reading, and any issues. That record tells you when something is drifting before it fails. If you use a softener alongside filtration, our guide on how to choose the right water softener salt rounds out the routine.
Book a Water Quality Check with England's Plumbing & Heating
Maintenance you can do yourself goes a long way. But some problems need a trained eye: failing membranes, persistent pressure drops, contamination you cannot identify, or a system that is simply past its useful life.
That is where we come in. England's Plumbing & Heating has served Chester County since 1989, and we handle water quality issues, well pump repairs, and full system upgrades. We can help with your water quality concerns and system needs.
You can see our full range of services and book online in minutes. No phone tag, no guessing.
Frequently Asked Questions
How often should I replace water filtration system filters?
Most sediment prefilters need changing every 3 to 6 months, carbon filters every 6 to 12 months, and RO membranes every 2 to 3 years. Always follow the manufacturer's recommendations for your specific model. If you notice reduced water flow, odd taste, or cloudy water before the scheduled date, replace the filter early. Homes on private wells often need more frequent changes than municipal water users.
What are the signs that a water filter needs maintenance?
Watch for slower water flow from faucets, a change in taste or odor, cloudy or discolored water, and visible sediment in the filter housing. Rising water pressure on the system gauge or leaks around fittings and O-rings also signal it is time for service. If your reverse osmosis storage tank takes longer to refill, the membrane or prefilters may be clogged.
How do I maintain a whole-house water filter?
Replace the sediment prefilter and carbon cartridge on schedule, flush the system after each change, and inspect the housing, O-rings, and valves for wear. Check water pressure quarterly and test your water annually to confirm the filter is still handling your contaminants. Keep a maintenance log so you know exactly when each component was last serviced.
How long does a water filtration system last?
A well-maintained system typically lasts 10 to 15 years, though the housing and valves often outlast the filters inside them. Reverse osmosis systems usually need membrane replacement every 2 to 3 years and pump or tank service sooner. Regular filter replacement, annual sanitizing, and prompt leak repair are the biggest factors in extending system lifespan.
If your water tastes off or your pressure has slipped, do not wait for a bigger problem. Get started with England's Plumbing & Heating and book a water quality check today, so your filtration system keeps doing its job for years to come.